A Case of Fours

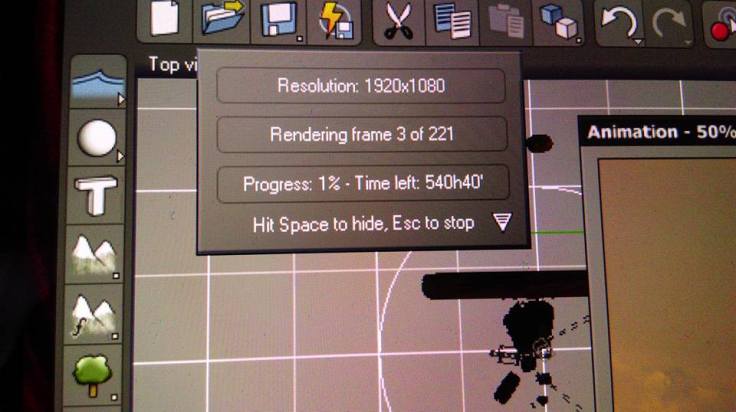
It’s taken several months to complete this as there were a lot of storyboard elements and a very definite sense of what happened in Andre Chikatilo’s life. I didn’t want to stray too far from the actual life of Chikatilo and his absolutely crazy story, so I used it as a basis for the flow of the video.

A Case of Fours is based on the prolific serial killer Andrei Chikatilo a Soviet serial killer, nicknamed the Butcher of Rostov, the Red Ripper, and the Rostov Ripper, who committed the sexual assault, murder, and mutilation of at least 52 women and children between 1978 and 1990 in the Russian SFSR, the Ukrainian SSR and the Uzbek SSR. Chikatilo confessed to a total of 56 murders and was tried for 53 of these killings in April 1992. He was convicted and sentenced to death for 52 of these murders in October 1992 and subsequently executed in February 1994.

Chikatilo was known by such titles as the Rostov Ripper and the Butcher of Rostov because the majority of his murders were committed in the Rostov Oblast of the Russian SFSR.

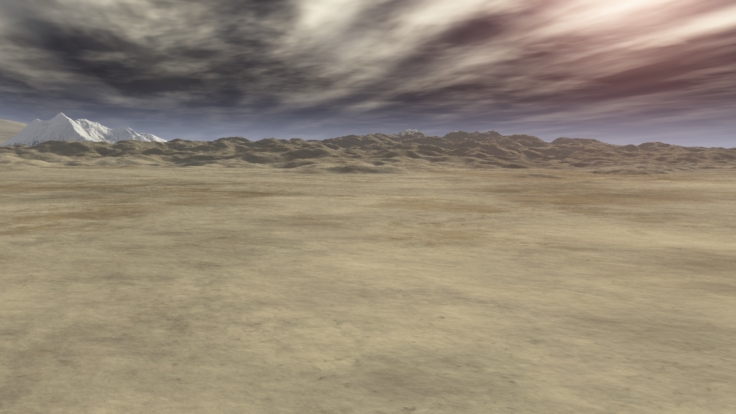
Made with After Effects, Vue, Daz studio and Red Giant plugins.

https://thehydeproject.bandcamp.com

Black Rose Entertainment

I just spent the last couple of months filming and putting together a series of videos for Showgirl Troupe, Black Rose Entertainment. These guys are lovely and exceptionally talented, so well worth your time.

I did want to go a little further with all this, but time was against us. I filmed some footage using the RGBD toolkit but didn’t manage to get any into the final edits. Possibly something to use for later?

The choreography was originally to different music, such as Rhianna and music from Moulin Rouge. Due to copyright reasons and wanting a sense of uniqueness I decided to write three new songs specifically for the videos. It was a slight challenge to make the choreography match to new music, in particular the final video which incorporates all four dances and some fire work from Alice.

Resolving Resolume’s reactiveness

My initial plan has been to use Ableton live and Resolume arena together as I wanted to have the viewer actually remix on the fly. Initially looking at it I thought it would be great to trigger video and sections of songs. I attempted to put this together and have found that the Leap Motion only sends through CC messages (a continuous stream of data which has a value between 1-127) rather than piano note data (a single button press if you will, usually used to trigger samples or video clips). There may be ways to get around this, but due to time and ease, I’ve decided to stick to a pre arranged sequence and manipulate the video and audio with effects and plugins.

Attempting to put this all together I’ve encountered some issues. I originally exported my video at 1080p. I wanted it to be as sharp as possible. I had to convert my video into DVX format which is a proprietary format from Resolume and apparently allows it to play better. Previously I have found that a JPG sequence has worked well playing back in Ableton live’s video window. Avoiding H.264 as, although great for streaming, is terrible for programs like Resolume or Ableton. I’ve found though that the 1080p video is a little jerky, so may try it at 720p.

Setting up the controls for both Resolume and Ableton has been tricky as I’ve had to go via Geco, Leap Motion’s Midi controller software. It does work well, but there are so many options open to you, that you don’t know how people are going to use it, especially as they have no proper training and it’s just “wave your hands over this thing”. I’ve considering using a small picture which shows what to do, without stopping people from experimenting. Presently I have various controls mapped to movements, a distortion on the video matching a distortion on the audio. This is proving very tricky though as I’m manipulating several streams of video and audio.

All this said, I think I’ve figured out the problem. the controller would jump channel numbers if I mapped to another effect. I can solve this by mapping to Resolume’s control panel and then matching that to a global effect rather than a specific effect.

Cloud Tanks

Today I’ve been wrangling the mythical beast that is a cloud tank. Lots of research on these, and weirdly there’s little in the way of info out there. Thanks to Shanks FX though I had enough info to make it work.

First I began to look for a fish tank that would be good enough to use. I didn’t really want to spend too much on it as I wasn’t actually going to be using it again. Thankfully a friend had one they were no longer using. only issue was, it was a piece of crap.

12295340_10156216899630099_1547296083059451799_n

I cleaned it up and purchased various salt. I ended up using dead sea salt as I figure it makes things float in the sea pretty well… yeah. I also had a look at epsom salts and standard rock salt.

12335884_10156305462950440_1714737433_n

I boiled two pans of water (about 4 litre) and added around 800g of salt. I then filled the newly cleaned tank with the water and let it settle for a few hours.

12346738_10156305857640440_1060871371_n

I used a black velvet curtain behind the tank so that it didn’t reflect the light. Next, once the water had settled and cooled I had to fill the rest of the tank with fresh water. This is done by laying a plastic sheet (or bin liner in my case) on top of the salt water and gently filling the bag with fresh water. Once full you slide the bag under the fresh water so the two waters meet without mixing.

12312179_10156305857340440_1697254163_n

Once this was done, I set up my camera and started to drop my liquids just beneath the surface. I used various types of liquid, but mainly condensed milk and food colouring.

It’s simpler than I thought it might be, but somewhat time consuming. If I wanted to have a clean tank every shot, I would have to boil more salt water… pretty laborious.

Eye of the Storm

Here’s a pretty cool video that uses Cloud tanks and green screen throughout. Really nicely done.

And the making of video:

And a VFX breakdown:


Some technical gubbins

Boujou is great, but it can have some issues… especially on green screen footage. There are a few things I’ve had to do to make sure the solves are working, such as grading shots with more contrast before the solve and adding manual tracking points. There are of course some quirks I’ve come across such as it’s slight drift in time. Boujou doesn’t differentiate between 24fps and 23.976fps so I’m having to adjust where I can.

Primatte Keyer by Red Giant is a pretty good alpha key removal plugin, but I’ve been having numerous issues where I’ll key out the green screen and find myself 2 minutes later re-keying the same section because it’s reverted back to an improperly keyed selection. No idea why it’s doing it. Instead I’m going back to After Effects own Keylight plug_in, which I used for the Thrive video. It’s surprisingly accurate as long as you’re willing to tweak with a few bits. Using a mixture of the two my keys are now becoming more accurate.

This is my first time using linked compositions. Using Premiere and After Effects at the same time and bridging them between each other. It’s actually very useful. Previously I have exported files from after effects to place into premiere. This causes problems in sections being slightly lossy. Tones not being quite so deep, slight colour errors, that kind of thing. This pretty much bypasses all that. Definitely a way I’ll be using it in future.

I’ve also probably made my life harder with my choice of skies and atmospheric effects within Vue. My render times have shot up again with the use of morphing clouds and spectral lighting on everything. looks great but I’ve only got one more week to really finish all the editing! Render farm anyone?12274739_10156276522200440_2242265019664618893_n


Argh!

Rendering…

Rendering…

Issue!

Solved.

Rendering…

You get the idea. So I have been attempting to render as many scenes as possible. I think I’m just under halfway with all the panned and moving shots. Which is pretty useful. Biggest pains in the arse have been;

  • The screwed up way that 3ds Max (the camera track format read by Vue) does it’s X, Y, and Z axis. It’s unlike any other program!
  • What to export your camera as, in Boujou? ‘static camera, moving scene’, ‘panning camera’, ‘moving camera, translating scene’ so on… what?!
  • Finding a ‘floor plane’ in Boujou. Easy enough in some ways, but when you want to move your camera and tracking points up, I know, lets flip it all 90 degrees! Why?!
  • the inability to move your camera in any way, once you import a camera solve into Vue.

I have a weird thing about solving these issues though. For some reason I kind of enjoy it. maybe I’m a masochist?

Mainly I want to get into the real interesting side of all this editing though. All the keying out will come next. I’ve sent Billie some frames of the edit so that she can draw over them and create her sections. Obviously they will be moving, so I hope I can implement them well enough.

I’ve also changed the format of my background renders – I was using BMP files due to their lossless quality, but each file was coming in at around 6mb. Overall it just made the whole thing quite unwieldy. I’ve since decided to render in jpg sequences as they seem to not have any major negative lossy qualities.

dominion take 10_000003

Create a free website or blog at WordPress.com.

Up ↑